PM Surya Ghar Yojana: Get Up to ₹78,000 Solar Subsidy, Full Application Guide
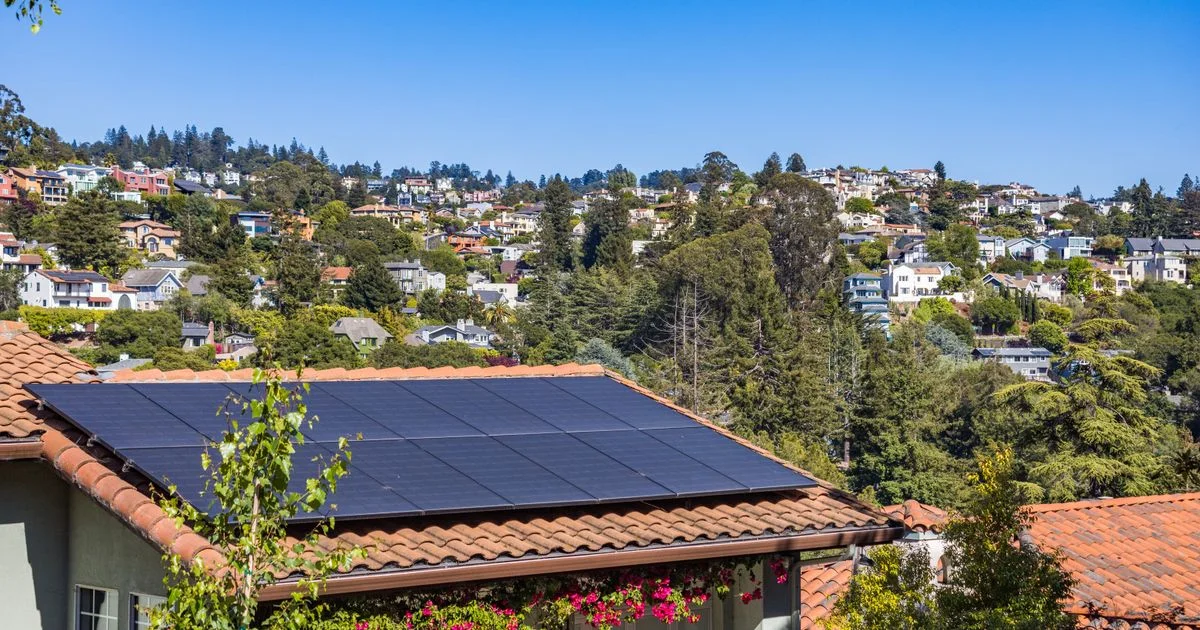
If your electricity bill keeps climbing, rooftop solar is worth a serious look. PM Surya Ghar: Muft Bijli Yojana is the central government's scheme to help homes install solar panels, with a subsidy of up to ₹78,000. Applications go through an official national portal, and the subsidy is paid into your bank account once the system is running.
Solar can save a lot of money, but it is a big purchase. This guide covers the subsidy, sizing, costs and the steps to apply.
How much subsidy can you get?
- 1 kW: ₹30,000
- 2 kW: ₹60,000
- 3 kW or more: ₹78,000
The subsidy is calculated at ₹30,000 per kW for the first 2 kW and ₹18,000 for the third kW. Nothing extra is added beyond 3 kW, so a 5 kW system still receives ₹78,000.
Which system size is right for your home?
Use this simple guide from your electricity bills:
- Up to 150 units a month: 1 to 2 kW
- 150 to 300 units a month: 2 to 3 kW
- More than 300 units a month: above 3 kW
On a clear sunny day, 1 kW can generate about 4 to 5.5 units. Check your bills for a whole year if you can, since air conditioner use can push up your summer consumption. Also make sure your roof has enough shadow-free space.
How much will it cost?
News reports put a typical 3 kW system at around ₹1.5 lakh to ₹2 lakh, depending on the equipment and installation. Taking off the ₹78,000 subsidy, a family would still spend roughly ₹72,000 to ₹1.2 lakh. You usually pay the vendor first and receive the subsidy later, so plan for the full amount or a loan. Prices vary, so collect at least two or three quotations.
Who can apply?
- Indian citizen
- Own a house with a roof suitable for solar panels
- Valid electricity connection
- No other solar panel subsidy taken for the same system
The electricity connection and bank account should be in the applicant's name, as a mismatch can lead to rejection.
How to apply for PM Surya Ghar
- Open pmsuryaghar.gov.in or the official app.
- Register by selecting your state and electricity distribution company, then enter your consumer number, mobile number and email.
- Log in and apply for rooftop solar.
- Choose a registered vendor and wait for the required feasibility approval.
- Get the system installed by that vendor.
- Submit the plant details and apply for the net meter.
- After the DISCOM inspects it and issues the commissioning report, submit your bank details.
- The subsidy is credited to your bank account.
Documents you may need
- Identity and address proof
- Recent electricity bill
- Proof of roof ownership
- Bank details or cancelled cheque
Taking a loan for solar
Banks offer rooftop solar loans under this scheme, including through the portal. Before you sign, compare the interest rate, processing charges and monthly payment. A loan makes sense if your monthly bill savings cover a fair part of the instalment.
Questions to ask your vendor
- Is the vendor registered on the national portal?
- Which panel and inverter brands are being used, and what is the warranty on each?
- Does the price include structure, wiring, net meter work and paperwork?
- Who will handle service if there is a problem in the next five years?
For Tamil Nadu homes
Your electricity board handles net metering. Check the TNEB rooftop solar portal for local steps. If you already get free or subsidised units, your savings will depend on how much you consume above that limit, so calculate this carefully before you invest.
Common questions
Is the electricity really free? Only if your solar generation covers your usage. You may still pay fixed charges.
Does solar work during a power cut? A normal grid-connected system usually shuts off during an outage unless it has a battery backup setup.
Is there a registration fee? Use the official portal, and be careful of lookalike websites asking for a fee.
Official links
Last checked: 3 November 2026.